
Level 1 chargers plug into a regular household outlet. They’re super easy to set up but can be slow, giving you about 3-5 miles of range per hour. If you’re using your car for light daily driving and have plenty of time to charge overnight, this might be enough for you.
Level 2 chargers are the go-to choice for most EV owners. They require a special 240-volt outlet, which may involve some electric work at home, but they charge way faster. You’ll typically get 10-60 miles of range for every hour of charging, making it ideal if you’re on the go or have a busy schedule.
Another factor to consider is the charger’s features. Some chargers come with smart technology that connects to your Wi-Fi, letting you monitor your charging progress from an app. Others might offer scheduling options to take advantage of lower electricity rates during off-peak hours. These nifty features can make Electric Vehicle Charger Installation even more worthwhile.
Lastly, think about your budget. Prices vary quite a bit, so set a range you’re comfortable with. Don’t forget to factor in installation costs if you need professional help. By keeping all these factors in mind, you’ll find the charger that fits your lifestyle perfectly and makes your Electric Vehicle Charger Installation a breeze.
Preparing Your Space for Installation
Getting ready for your Electric Vehicle Charger Installation? It’s easier than you think! A bit of prep work goes a long way to make the process smooth and hassle-free.
First, check the location where you want to install the charger. It should be close to where you park your electric vehicle, ideally within reach of your power source. Look for an area with easy access to the electrical panel. Safety is key, so try to avoid spots where water can accumulate, like near sprinklers or garden hoses.
Next, assess your electrical system. Do you have enough power to support the charger? Some chargers need a dedicated circuit, so you might need an electrician. If you’re unsure, it’s wise to get an expert opinion before moving forward with the installation.
Also, think about the cable length. You want to ensure the charger’s cord reaches your vehicle without stretching it too tight. Consider installing the charger at eye level or at a height that’s convenient for plugging in.
Lastly, tidy up the space. Clear any clutter or obstacles that might interfere with the installation. A clean space not only helps the installer but also makes it easier for you to park and charge your car down the line. Once you've prepped your space, you’ll be all set for a smooth Electric Vehicle Charger Installation!
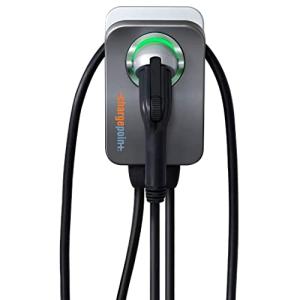
ChargePoint Home Flex Level 2 EV Charger
The ultimate solution for fast and flexible charging at home
Product information
$389.99
Product Review Score
4.38 out of 5 stars
230 reviewsProduct links
Step-by-Step Installation Guide
Installing your electric vehicle charger doesn’t have to be complicated. With just a few steps, you’ll be ready to power up your ride! Let’s break down the process of Electric Vehicle Charger Installation.
Step 1: Choose the Right Spot
Find a convenient location for your charger. It should be close to your parking space and near an electrical panel. Make sure the area has good lighting for safety.
Step 2: Check Your Electrical System
Before anything else, ensure your home's electrical system can handle the charger. Depending on your charger type, you might need a dedicated circuit. It's a good idea to consult a licensed electrician if you're unsure.
Step 3: Gather Your Tools
You’ll need some basic tools like a screwdriver, a drill, and wire connectors. Don’t forget safety gear—gloves and goggles help protect you while you work!
Step 4: Follow the Installation Instructions
Every charger comes with a manual. Follow it step-by-step. Generally, you’ll mount the charger, connect it to the power source, and test it. This is where those handy tools come into play!
Step 5: Test Your Charger
Once everything’s connected, plug in your EV and give it a shot. Make sure the charger powers up and that your car is receiving juice. You’re all set to hit the road!
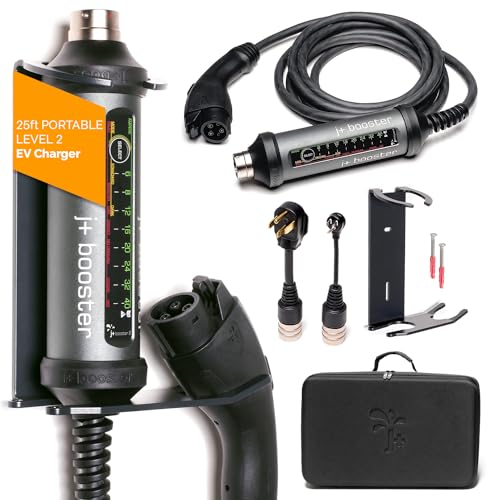
J+ Level 2 Portable EV Charger - 40 Amp
Charge your electric vehicle quickly and conveniently at home or on the go with this powerful portable charger
Product information
$681.49
Product Review Score
4.55 out of 5 stars
172 reviewsProduct links
Troubleshooting Common Charger Issues
Installing an electric vehicle charger should be a straightforward process, but sometimes you run into hiccups. Let’s tackle some common issues that might pop up during your Electric Vehicle Charger Installation.
If your charger won’t turn on, first check if it's properly connected to the power source. Make sure the circuit breaker hasn't tripped. It’s an easy fix! If the breaker is fine, inspect the charger’s plug and outlet for any damage. Sometimes, a loose connection can cause all kinds of headaches.
Another issue you might face is slow charging. This can be a bummer if you're in a hurry. Check to see if the power output of your charger matches your vehicle's charging capabilities. Not all chargers are created equal! If you're using a lower output charger, it will take longer for your vehicle to charge up.
Don’t forget about error messages! If your charger displays an error code, refer to the user manual—it’s usually pretty helpful. Common errors can be related to connectivity, so try resetting the charger or reconnecting it to your Wi-Fi if it’s a smart charger. Sometimes, all you need is a quick reboot!
Lastly, if you notice any unusual sounds, like buzzing or clicking, that’s a sign to stop using the charger immediately. Unplug it and call customer support. Better safe than sorry! With these tips, your Electric Vehicle Charger Installation should be smooth sailing, even if you run into a few bumps along the way.


